


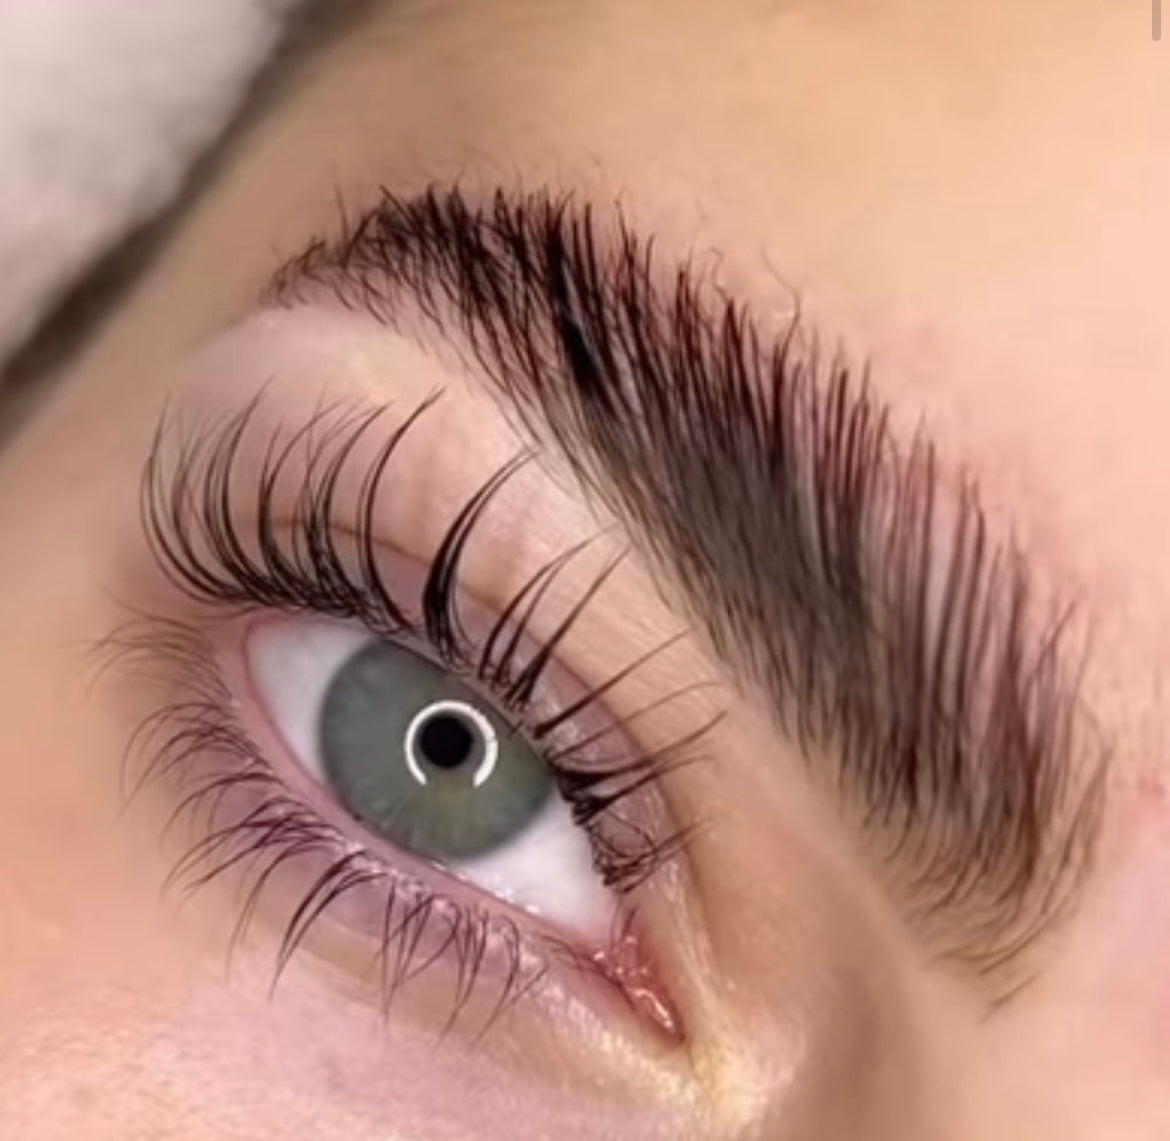
Lash Lift & Brow Lamination Kit
- Regular price
-
$99.00 - Regular price
-
$119.99 - Sale price
-
$99.00
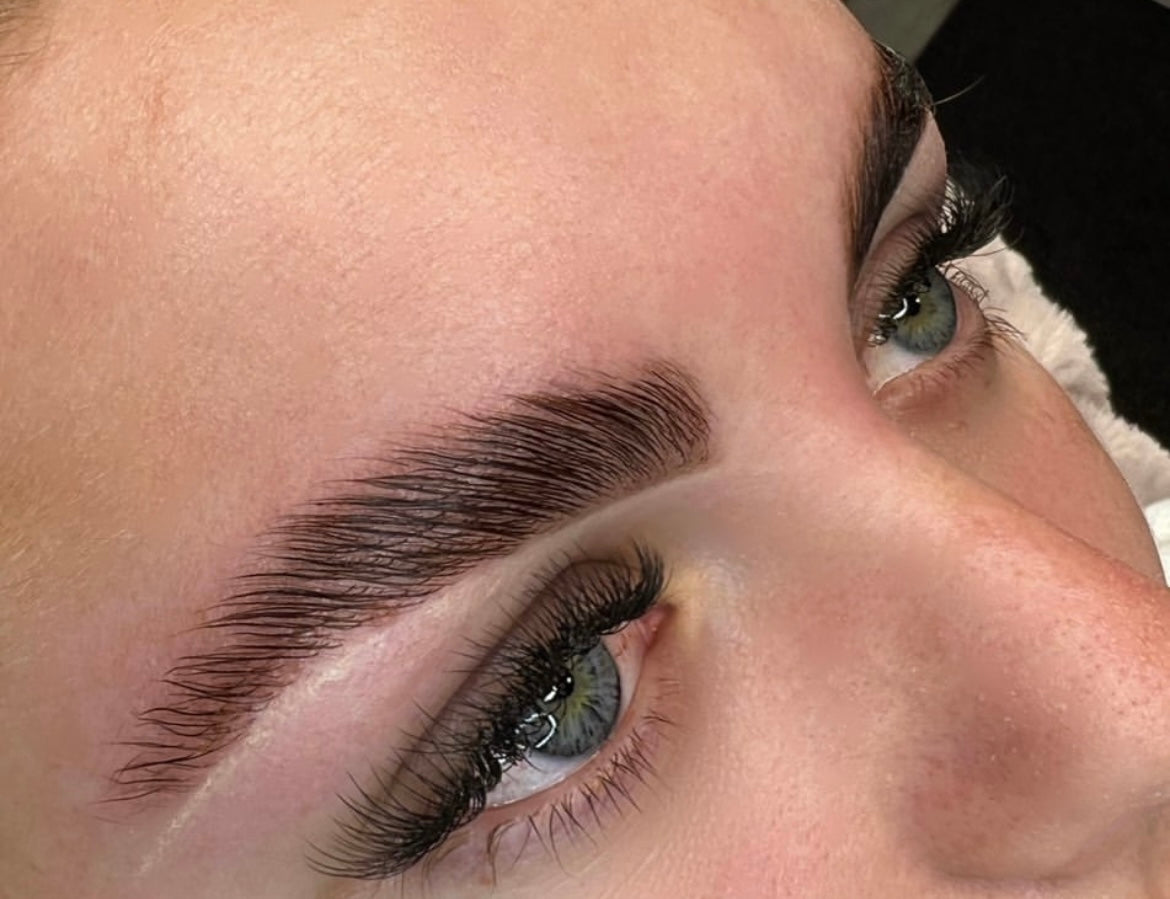
Australia's ONLY at home Lash Lift and Brow Lamination kit. The Quicklift Lash Lift kit is a 2 in 1 kit that performs both Lash Lifts and Brow Laminations.
Designed to make the lash and brow process more convenient than ever in the comfort of your own home.
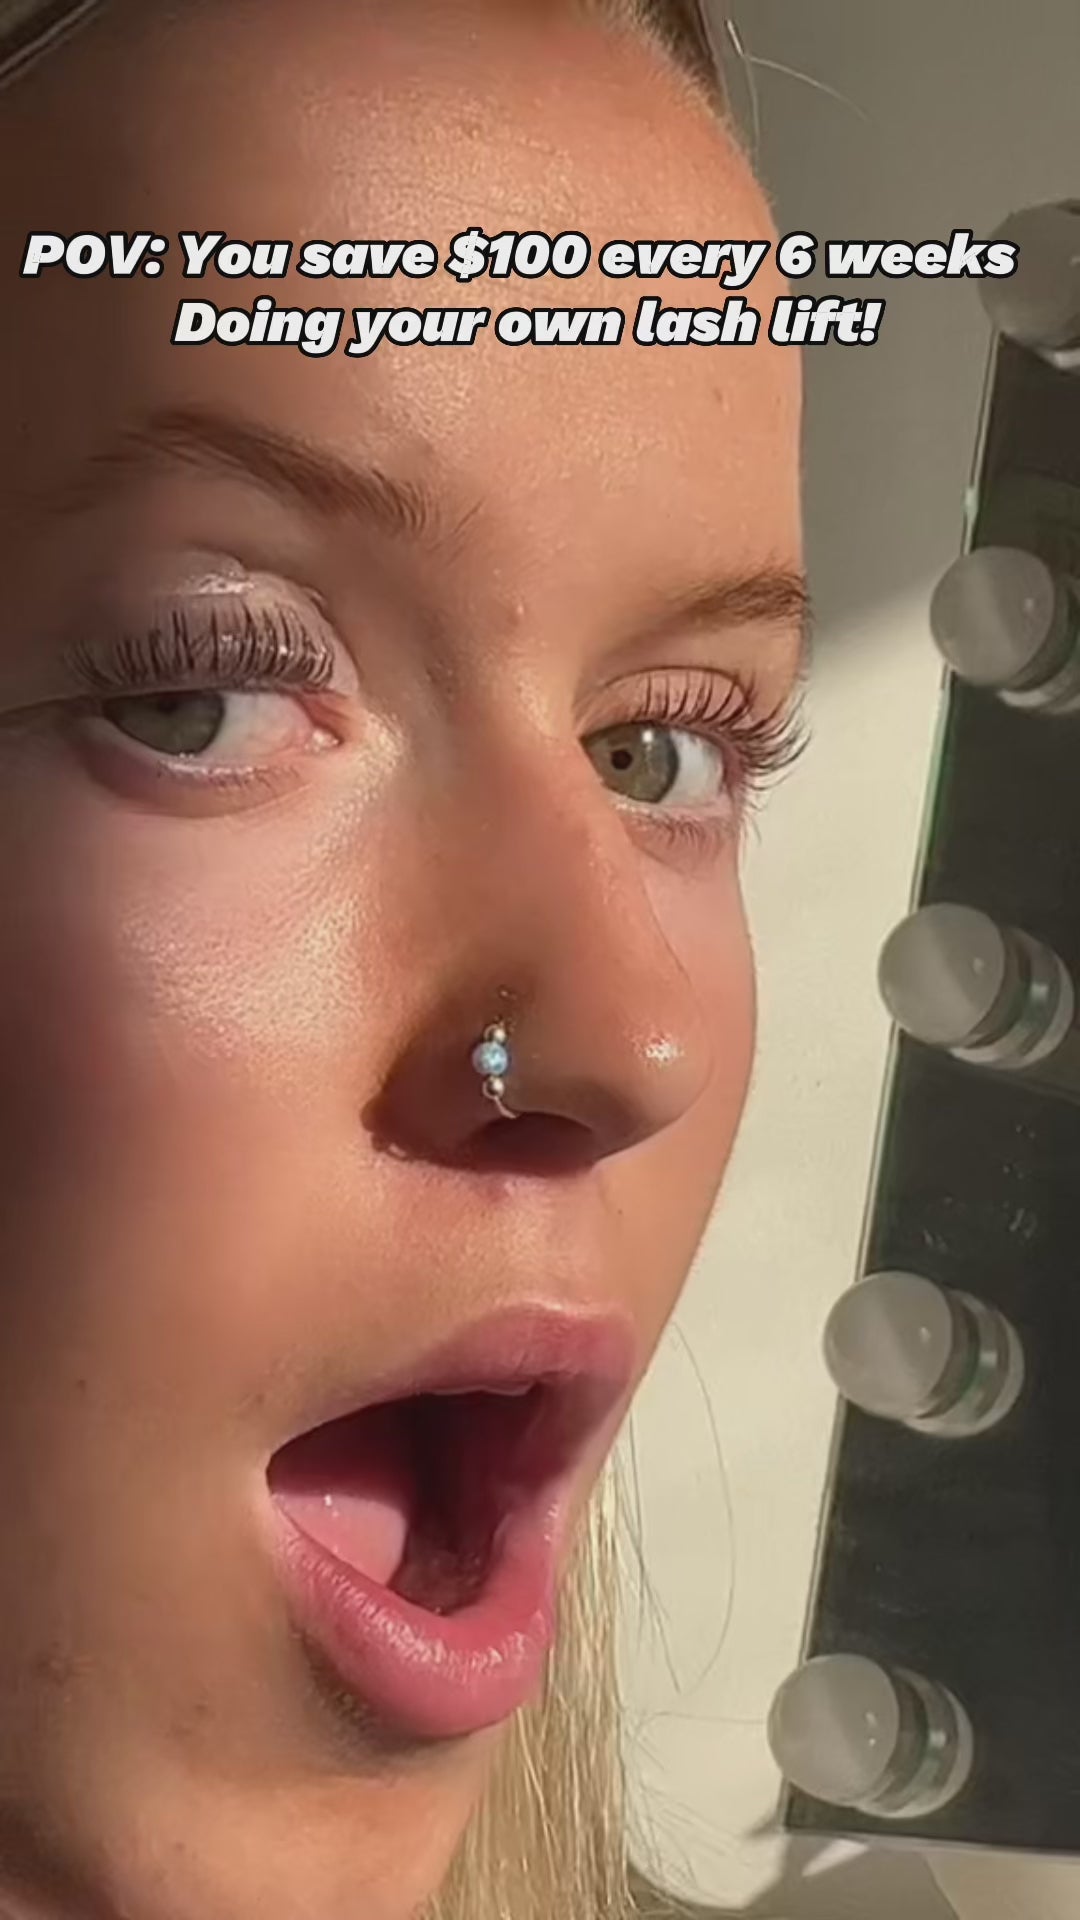
This product is designed for anyone and everyone! Busy mothers, university students or anyone with a busy schedule.
With a minimum of 6 treatments in one kit, you will never find a more cost affective way to have your lashes and brows consistently fresh.
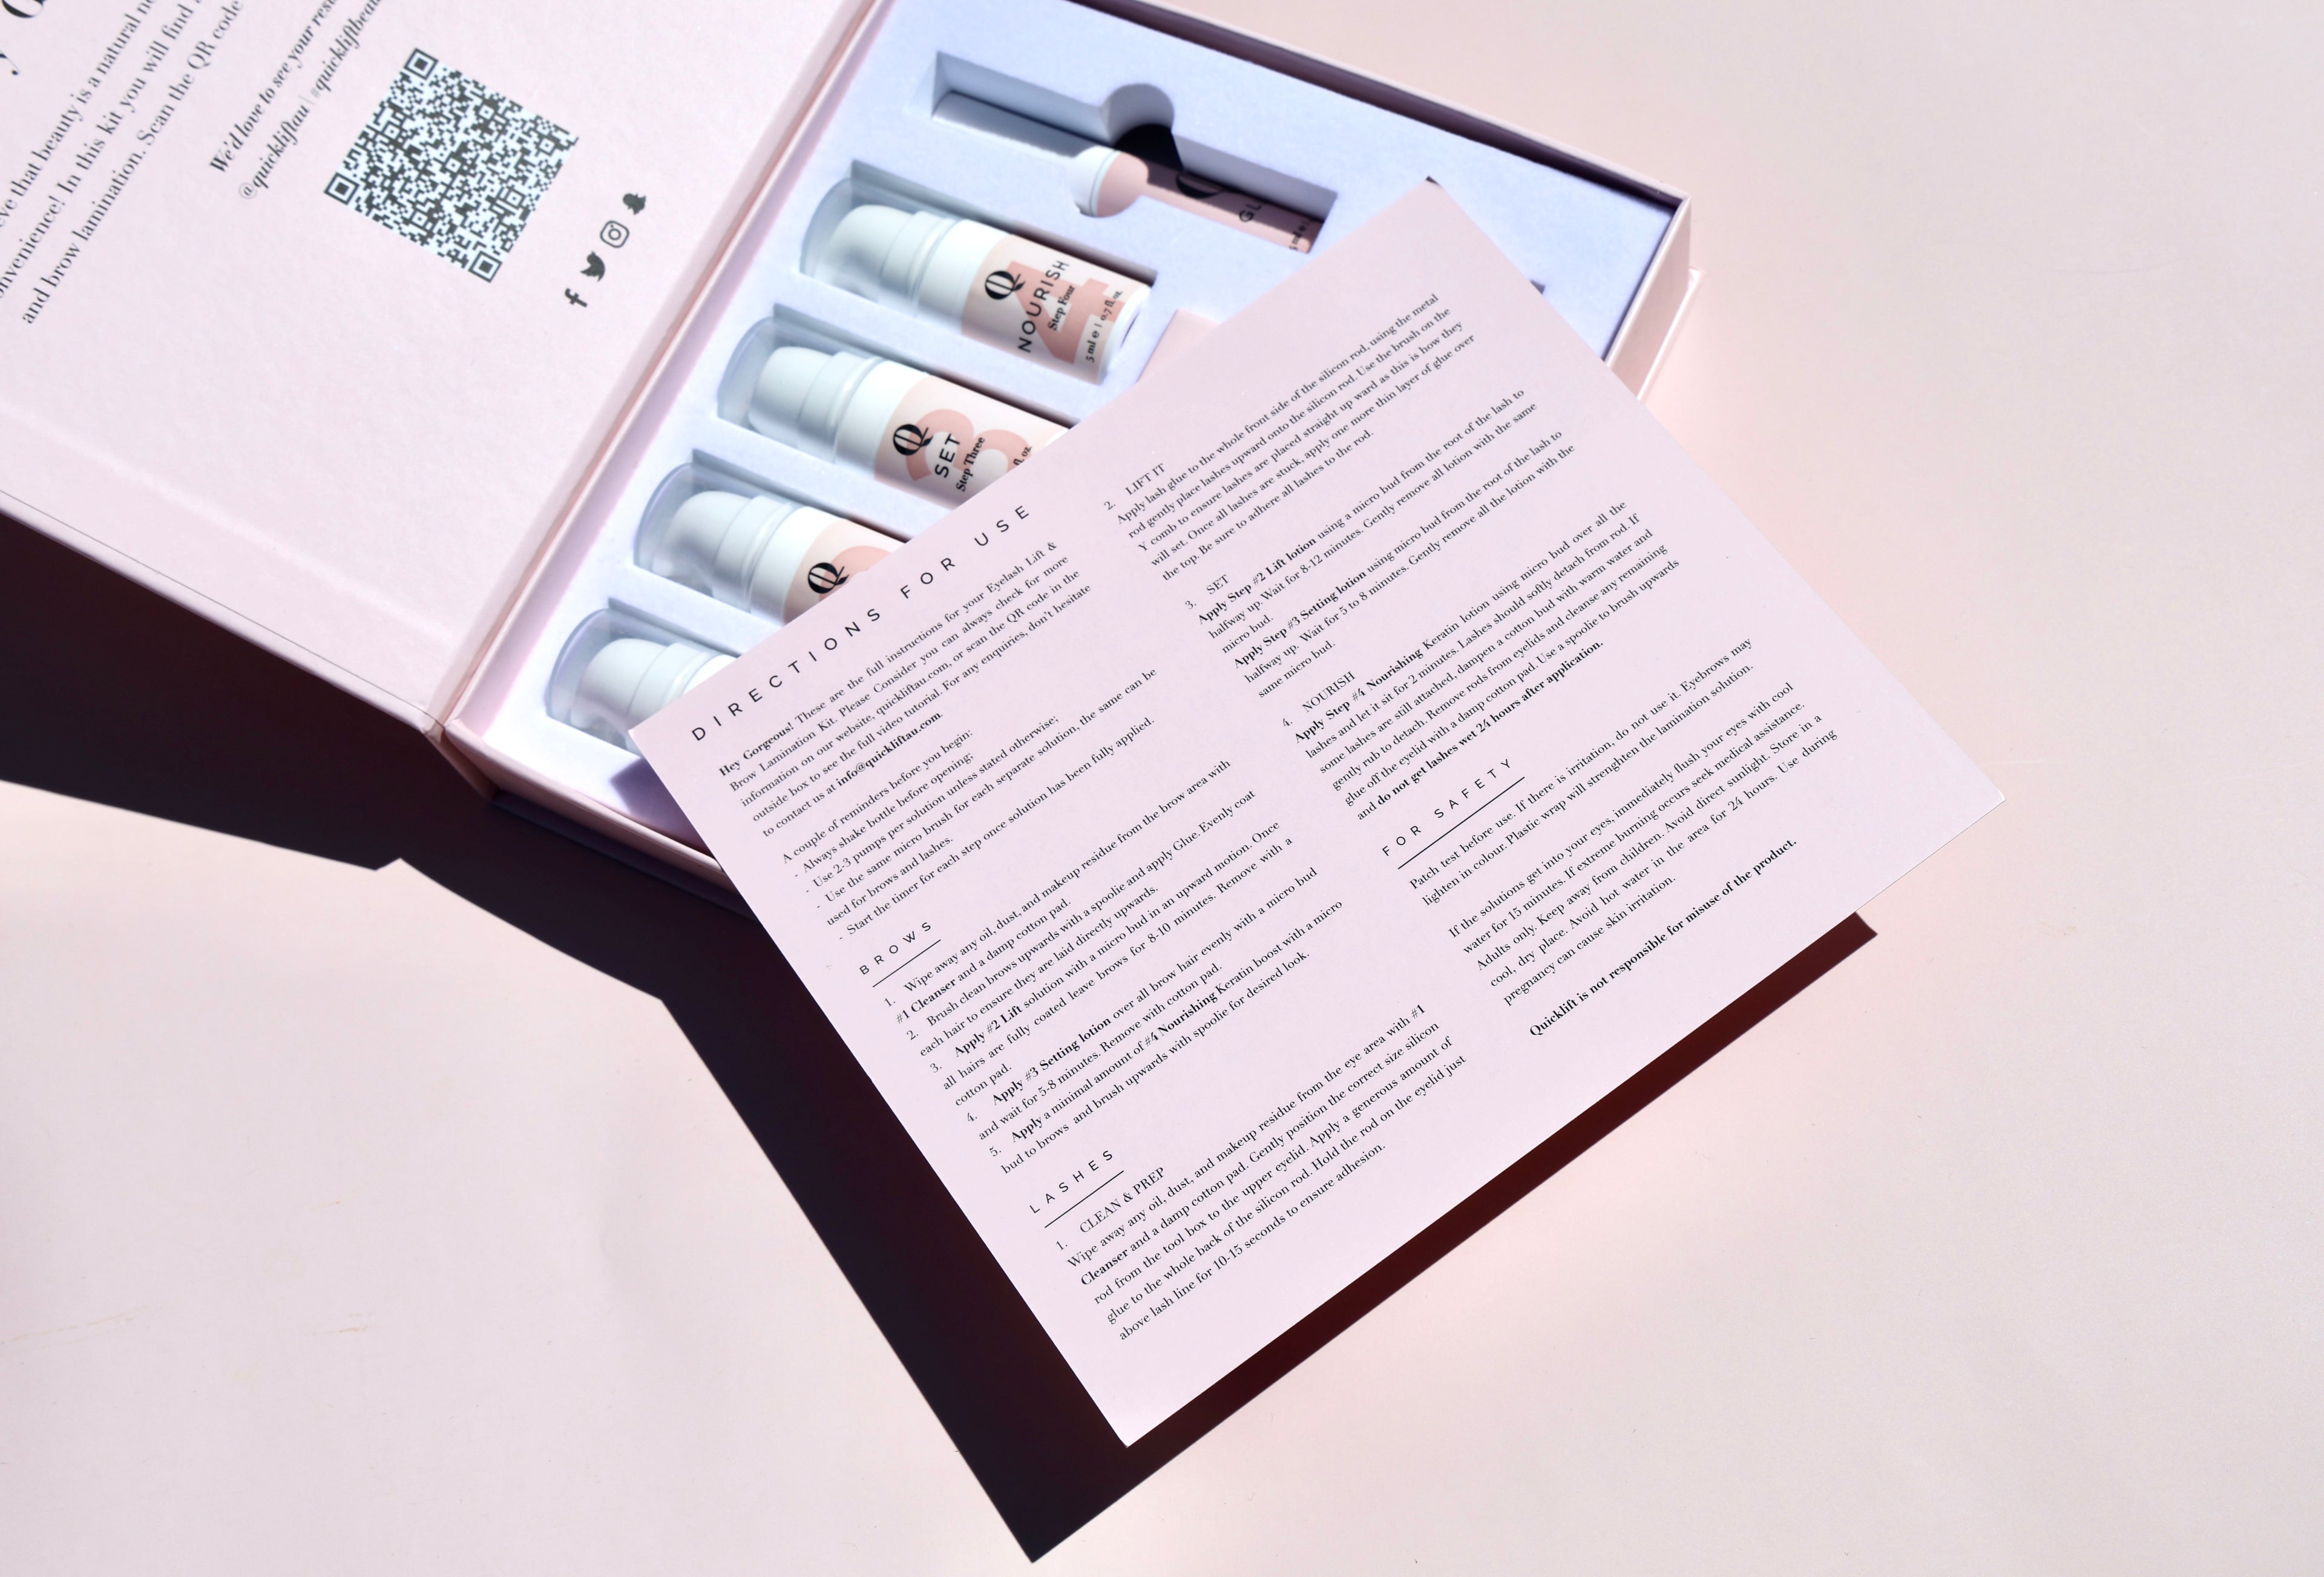
This Kit includes:
1 X Glue
1 X Step 1 'Clean' Solution
1 X Step 2 'Lift' Solution
1 X Step 3 'Set' Solution
1 X Step 4 'Nourish' Solution
1 X Metal Rod
2 X Y combs
5 X Spoolies
15 X Microswabs
FOR BROWS
- Wipe away any oil, dust, and makeup residue from the brow area with #1 Cleanser and a damp cotton pad.
- Brush clean brows upwards with a spoolie and apply Glue. Evenly coat each hair to ensure they are laid directly upwards.
- Apply #2 Lift solution with a micro bud in an upward motion. Once all hairs are fully coated leave brows for 8-10 minutes. Remove with a cotton pad.
- Apply #3 Setting lotion over all brow hair evenly with a micro bud and wait for 5-8 minutes. Remove with cotton pad.
- Apply a minimal amount of #4 Nourishing Keratin boost with a micro bud to brows and brush upwards with spoolie for desired look.
FOR LASHES
- CLEAN & PREP
Wipe away any oil, dust, and makeup residue from the eye area with #1 Cleanser and a damp cotton pad. Gently position the correct size silicon rod from the tool box to the upper eyelid. Apply a generous amount of glue to the whole back of the silicon rod. Hold the rod on the eyelid just above lash line for 10-15 seconds to ensure adhesion. - LIFT IT
Apply lash glue to the whole front side of the silicon rod, using the metal rod gently place lashes upward onto the silicon rod. Use the brush on the Y comb to ensure lashes are placed straight up ward as this is how they will set. Once all lashes are stuck, apply one more thin layer of glue over the top. Be sure to adhere all lashes to the rod. - SET
Apply Step #2 Lift lotion using a micro bud from the root of the lash to halfway up. Wait for 8-12 minutes. Gently remove all lotion with the same micro bud. Apply Step #3 Setting lotion using micro bud from the root of the lash to halfway up. Wait for 5 to 8 minutes. Gently remove all the lotion with the same micro bud. - NOURISH
Apply Step #4 Nourishing Keratin lotion using micro bud over all the lashes and let it sit for 2 minutes. Lashes should softly detach from rod. If some lashes are still attached, dampen a cotton bud with warm water and gently rub to detach. Remove rods from eyelids and cleanse any remaining glue off the eyelid with a damp cotton pad. Use a spoolie to brush upwards and do not get lashes wet 24 hours after application.
SAFETY
Patch test before use. If there is irritation, do not use it. Eyebrows may lighten in colour. Plastic wrap will strengthen the lamination solution.If the solutions get into your eyes, immediately flush your eyes with cool water for 15 minutes. If extreme burning occurs seek medical assistance. Adults only. Keep away from children. Store in a cool, dry place. Avoid hot water in the area for 24 hours. Use during pregnancy can cause skin irritation. Quicklift is not responsible for misuse of the product.
Couldn't load pickup availability


FAQs
Q: Can I use the kit for both lash lift & brow lamination?
Yes, The kit contains everything you need for both a lash lift & Brow lamination.
Q: How do i know what silicon rod to use?
Our pads are labelled, S, M, M1, M2, L
When choosing a silicon rod you must ensure that the tips of your lashes touch the rod the whole way. For example if you choose the 'S' rod and the tips of your lashes go over the top on the silicon rod you will need to go up to 'M'.
The rod size will also determine the type of curl. The larger the rod the more dramatic the curl.
Q: How do i know how long to leave the solution on for?
If your natural lashes are on the think and strong side you will leave the solution on for a longer duration. If your lashes are thinner the solution should be left on for a smaller duration.
A good way to determine this is if your lashes easily stick to the glue on the rod they will be on for the shorter duration and if your lashes struggle to stick to the rod you will leave the solution on a longer duration.
Q: I wear lash extensions, can I use this product?
Yes you can. Because the product is applied to the skin and not the lashes it will not interfere with the bond of the glue. Make sure to wait 48 hours after your appointment. Many lash technicians recognise the benefits of using a lash serum with lash extensions for many reasons. The benefits of adding vitamins to the root of your lashes help strengthen the bulb, disallowing the hair follicle from prematurely falling (with the extra weight of a false lash).
Q. How long does the quicklift kit last?
The kit has a shelf life of 3 months once opening.